The Big Day (Part 1)

Today I, with help from my mom, turned 5 gallons of apple juice into a yeasty, sugary concoction that will hopefully turn into wine.

20140629_164154


First, and most important step is sanitation.

20140629_174033

20140629_164336


Sanitizing solution simply needs to be in contact with whatever you’re using, including your hands and workspace, for a few minutes (we used five just to be safe), and there’s no need to rinse. Even contact with the foam sanitizes!

20140629_165143

I’m rolling the fermentation jug in order to ensure the solution to come into contact with the entire inside of the jug. Having the additional harness with handles makes life a lot easier, especially when carrying the jug from the kitchen to the basement.

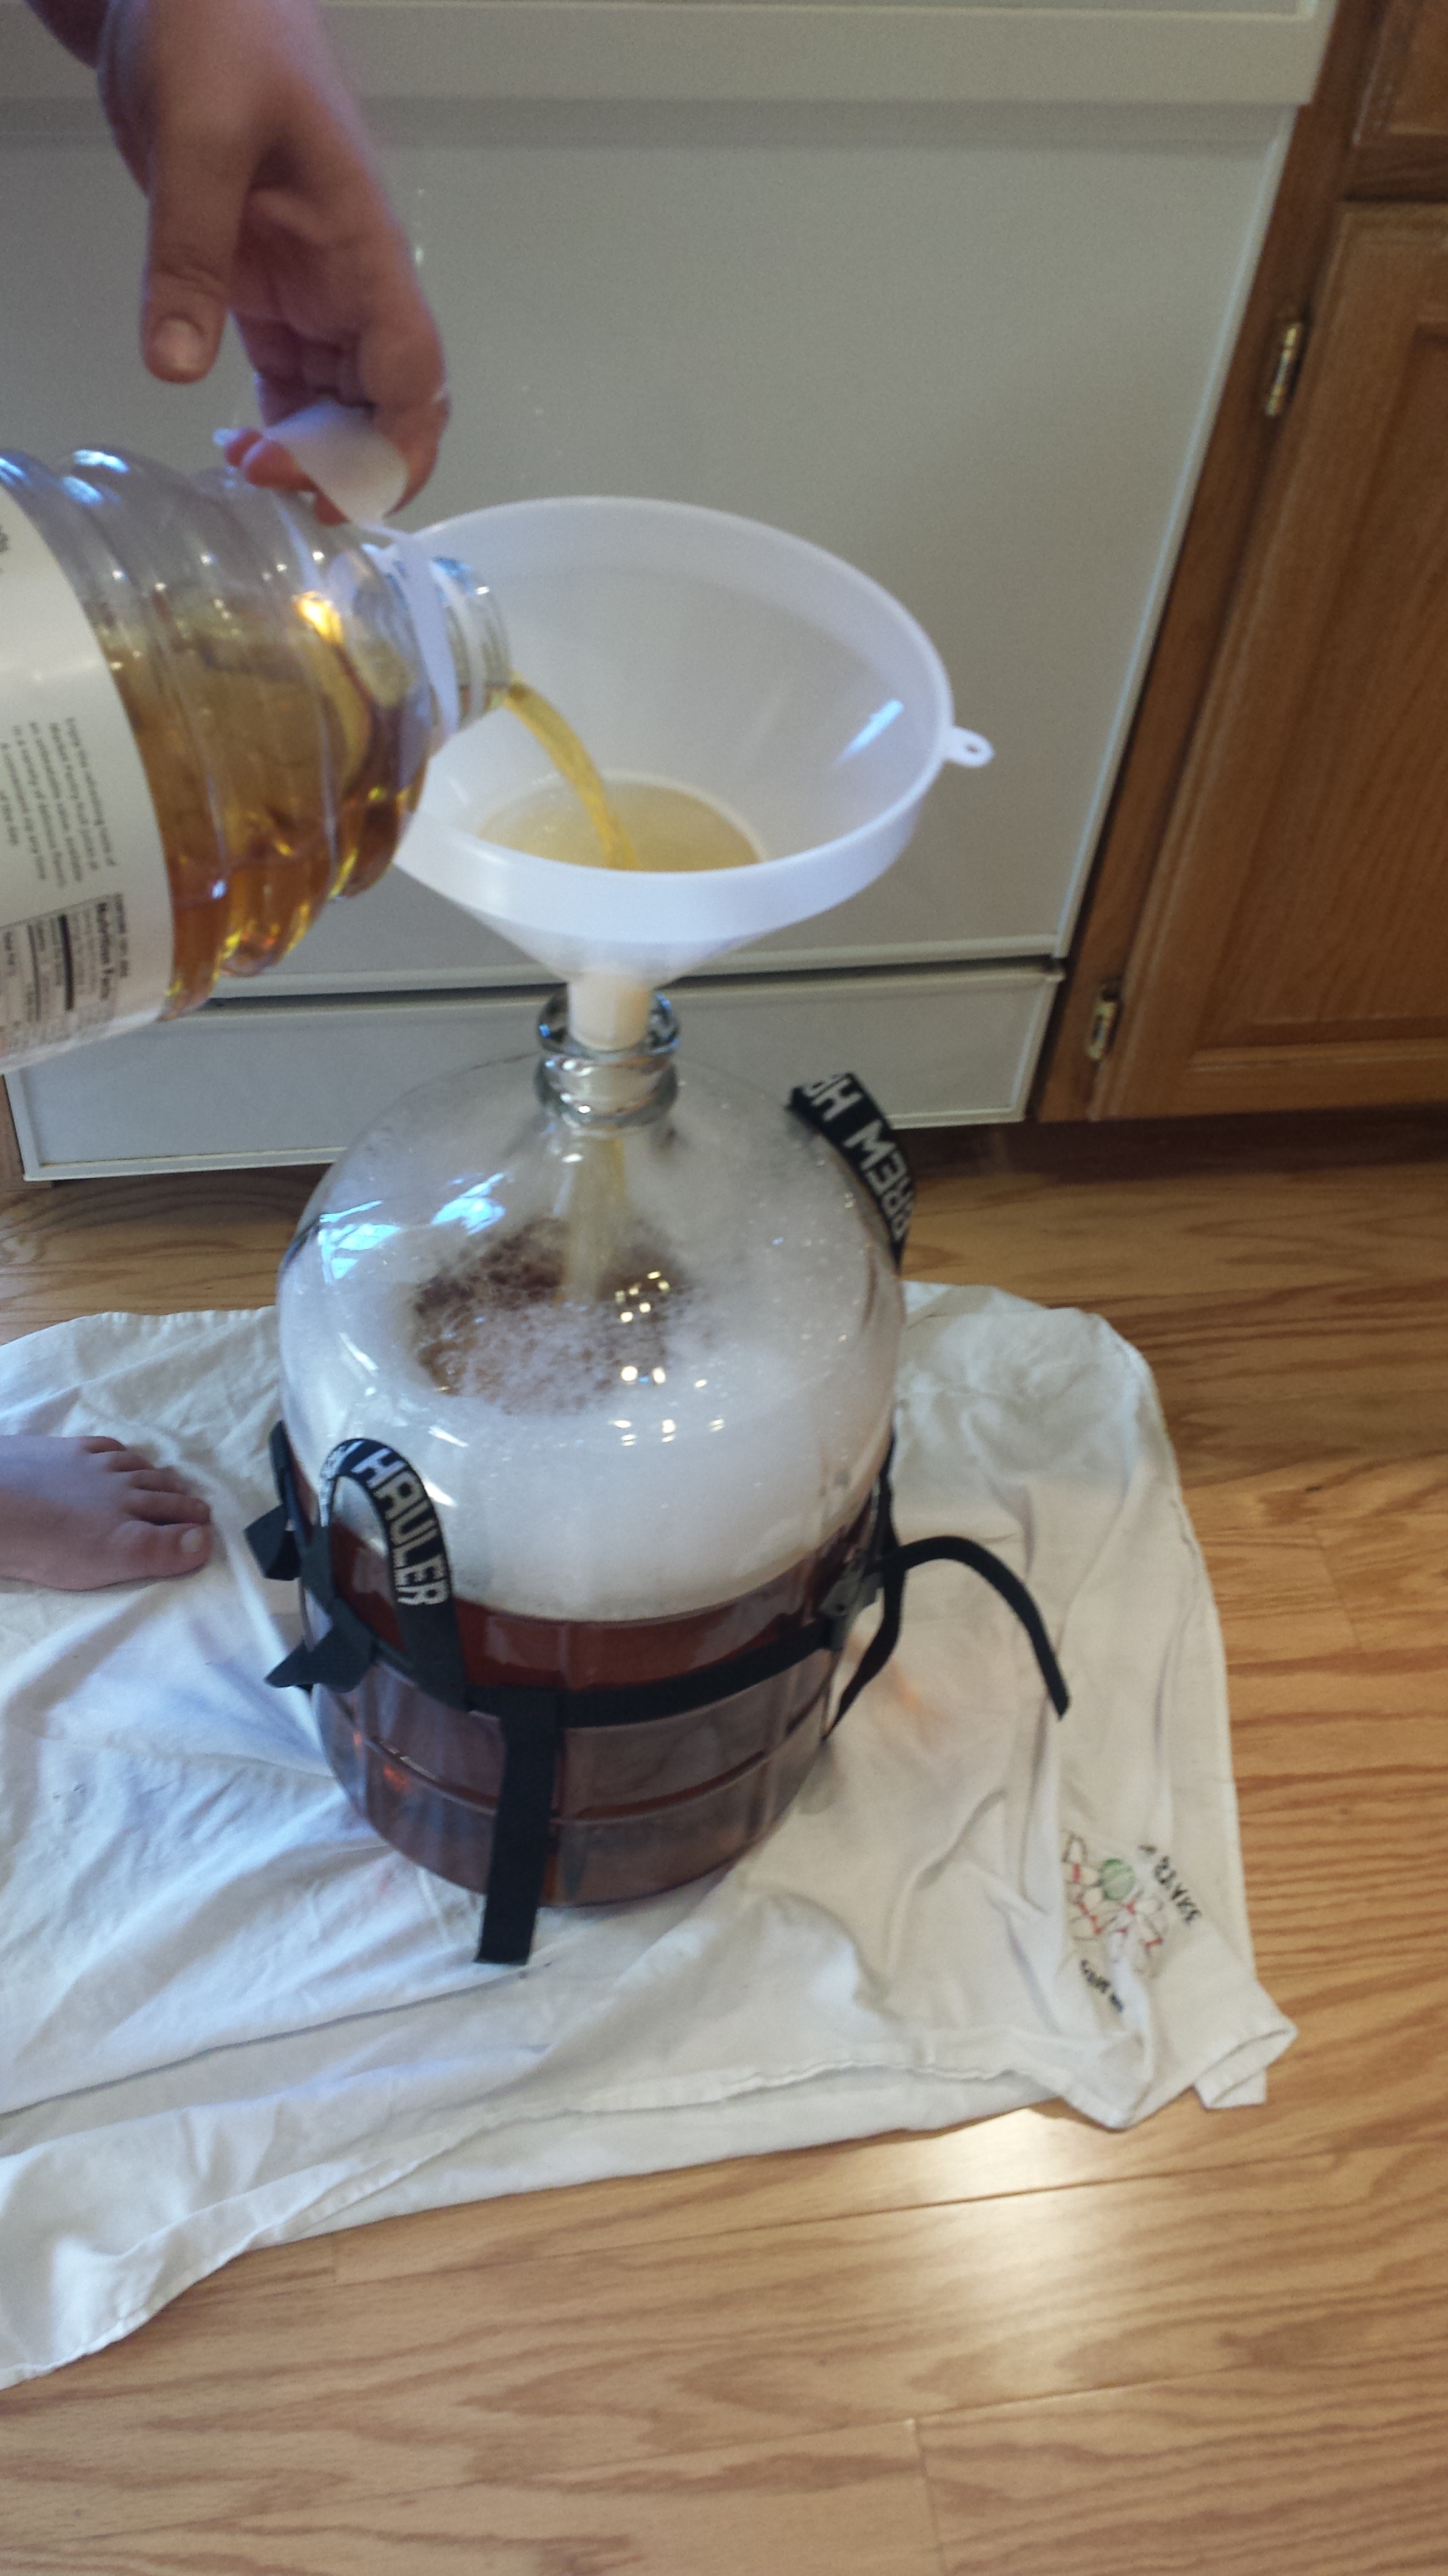
After sanitizing, I began mixing 2 pounds of corn sugar (dextrose) with the apple juice and pouring it into the jug.

20140629_164430

20140629_165558


I measured out a pound of sugar, poured half a bottle of juice in the jug, and then poured the pound of sugar in the apple juice in order to dissolve the sugar in the juice.

20140629_165840


20140629_165854

20140629_165923

20140629_165948

After mixing the juice and the sugar, I poured it in the fermentation jug and repeated the process again with another pound of sugar.

20140629_170033

Once the 2 gallons of juice with the sugar mixed in was in the jug, I added in the yeast nutrient followed by nearly all of the rest of the juice.

20140629_170500

20140629_170513

20140629_170634

At this point I ran into my first major problem; I completely forgot about the next step. I needed to mix the juice to the point where a vortex forms for 1 to 2 minutes, and I didn’t have a small enough spoon. Part two will go into how we solved that problem, and how we discovered more during that process! Enjoy the cliffhanger, and remember that foam is your friend.

Brewing with Brewtroller


This video is an episode from Make magazine’s video blog called Make: Live. These guys provide a great demonstration on how Arduino and other micro controllers can be used in home brewing systems. I’m not going to lie, their manual control panel was extremely intimidating, but I think making my digital thermometer  system won’t be nearly as extravagant. I’m going to start the brewing process next week, so expect lots of photos documenting the beginnings of wine brewing.


Brewing with Arduino

First off, I’d like to ease any worries about my home-brewed wine that I will prepare for the Maker Faire:

1. I will use a ton of sanitizing solution. 

2. This awesome instructable claims that brewing wine is idiot proof. 

3. My Mom, who brews beer and majored in Chemistry, is going to help me and provide the majority of the equipment.

4. I’m going to (attempt to) build a digital thermometer using Arduino to better monitor the fermentation process.


Since many makers are homebrewers and homebrewers are makers, there are several different projects and kits combining Arduino with the brewing process. There are even a few advanced, open source kits available for purchase:

BrewPi is a temperature controller that uses a combination of Raspberry Pi and Arduino. It provides a web interface and graphs, and it can be used to build fermentation chambers.

Brew Troller also monitors and controls temperature. It also has the capability to monitors vessel volumes and control valves and many other brewing functions. 

Both systems are customizable and on GitHub.


Due to time constraints and lack of experience, I’m going to stick to a simple Arduino system that uses a digital thermometer to monitor temperature. I’m hoping to have real time temperature updates sent to my phone or to a website. I will be ordering my Arduino this weekend and buying a lot of fruit juice!

Image


Photo credit: http://www.celebrationgeneration.com/BlogPics/Homebrewing.jpg

The Beginning.

My decision to take the first Content Creation course offered in a library science program stems mostly from pure interest in the subject. However, I was also motivated by my desire to validate my previous education. I have my A.A.S. in Media Arts, which means I paid a lot of tuition to work with a variety of digital media programs including photoshop, logic, and final cut pro.


After the brief introductions I received on each area of media creation, I connected with digital video editing’s combination of skills, including organization, logic, and creativity, and pursued the field as a possible career path. After working on a failed local TV pilot and failed TV concept, I refocused my attention on my education. I remain passionate about digital media and pursue it as a hobby, but I’m rusty due to the rapid technological developments and lack of software access. I’m hoping this course will not only allow me the opportunity to refresh my digital skills, but also expand them to include the physical realm of vinyl cutting and 3D printing.


Maker Spaces in libraries allow patrons to gain experience with programs like photoshop and final cut pro without spending significant amounts of money on buying the software and hardware and taking courses with experts. Community members and library staff provide the expertise and collaboration necessary for patrons to conceptualize, design, and create anything they need to enhance their lives, while the library provides the tools. I view maker spaces in libraries as a “hack” of libraries – informational resources that already exist are repurposed and enhanced by the addition of tools to make a better library experience.